


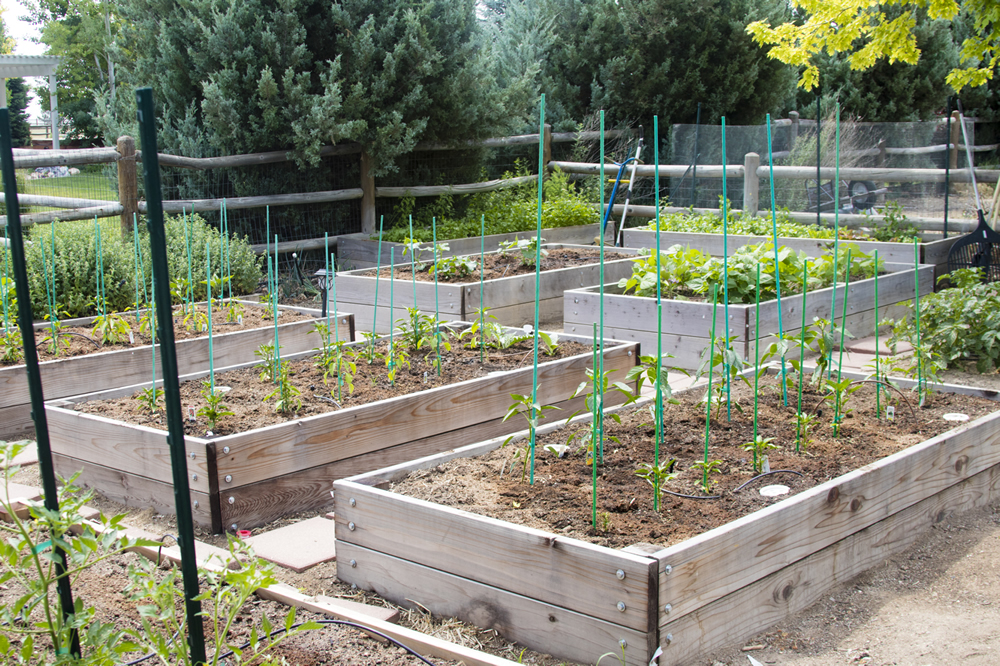
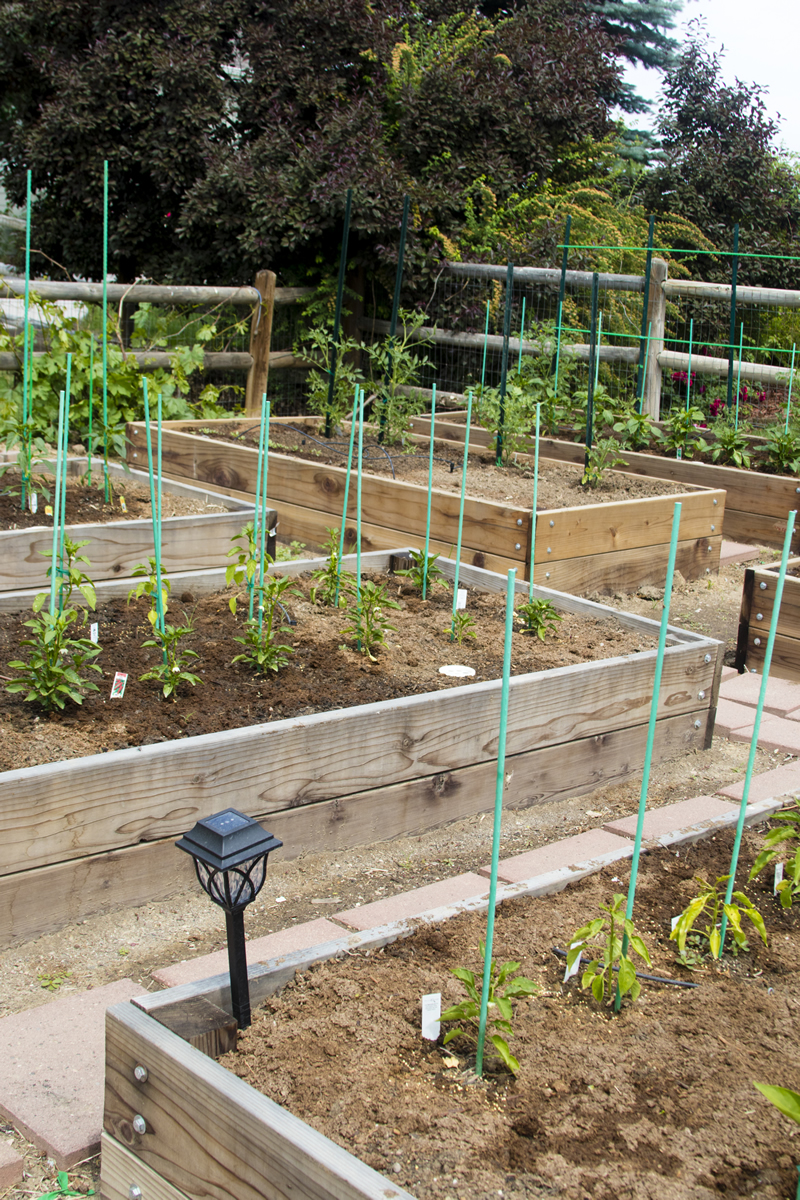
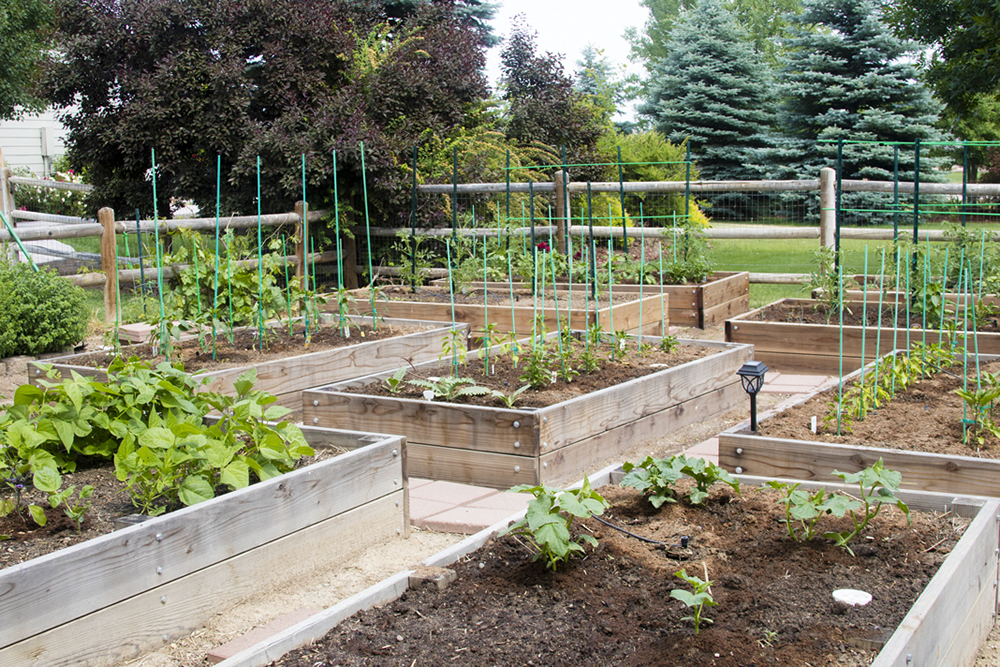
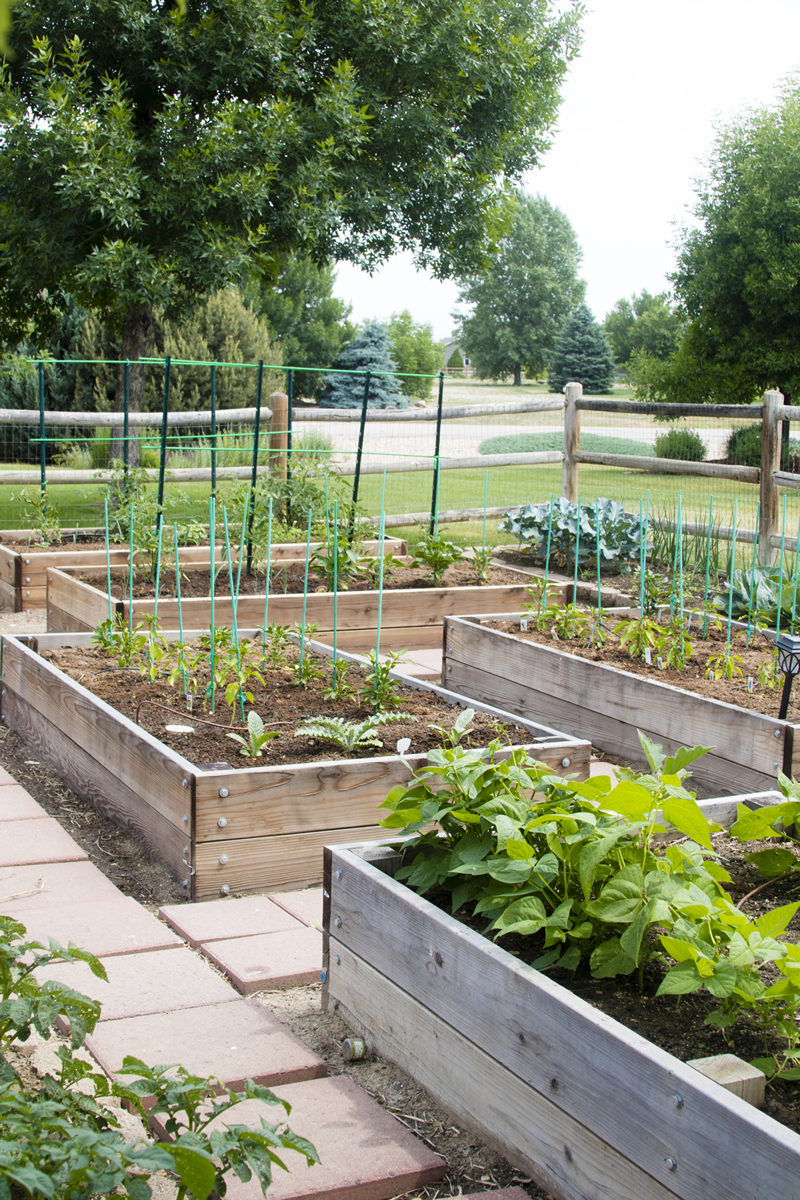
My husband is an avid gardener and has been working on our garden for the past 14 years. To say the least, it has been a long process to figure out what works best for the garden to grow well.
Over the years he has tried multiple options for our raised garden beds, below are the instructions for what we think works the best. The are durable, they look nice, and they function well. I hope our years of trial and error help you make the best raised garden beds ever 🙂
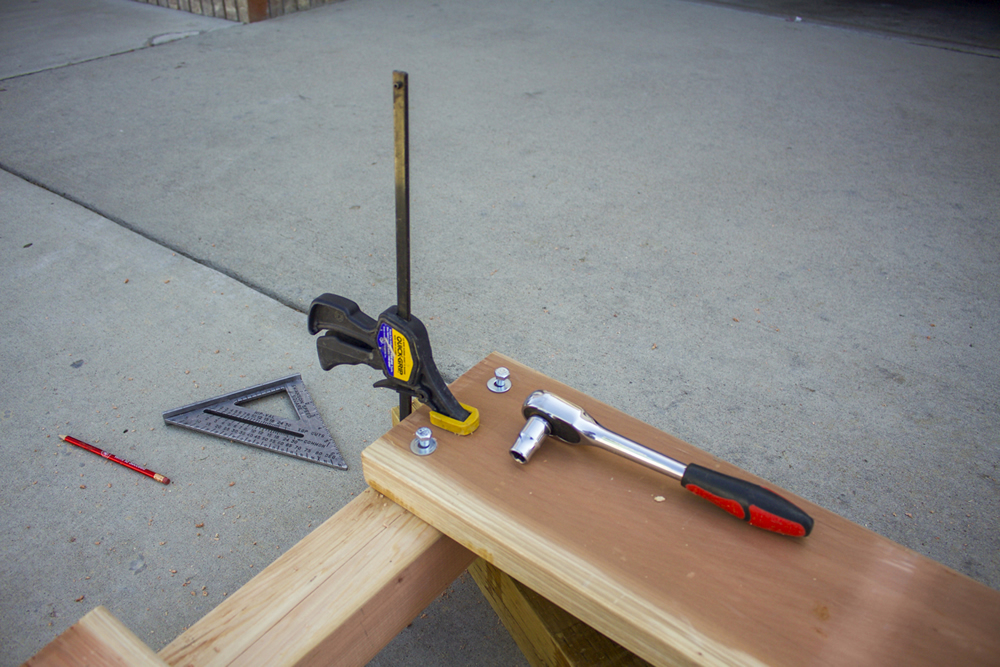
Supplies
- 6 8ft 2×10 redwood boards
- 1 8ft 4×4 redwood post
- 32 3/8 inch x 3 ½ inch lag screws
- 32 3/8 inch washers
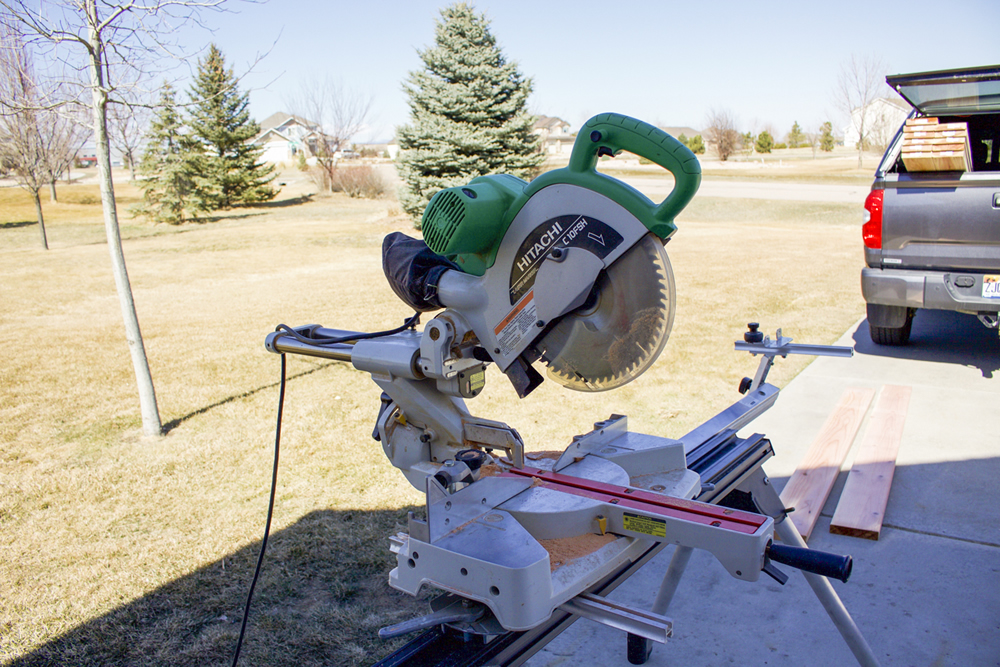
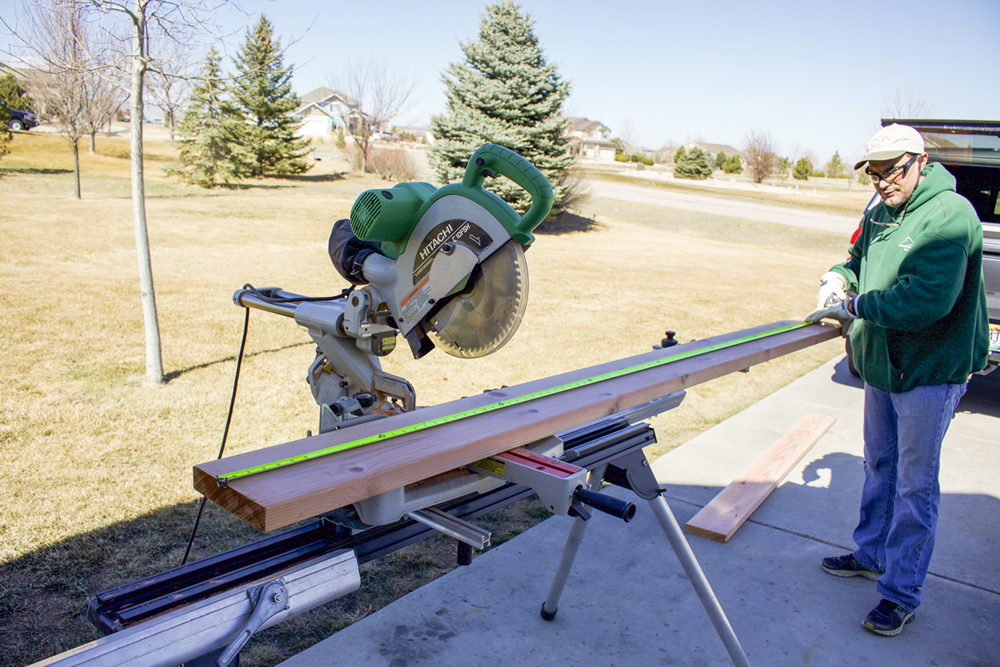
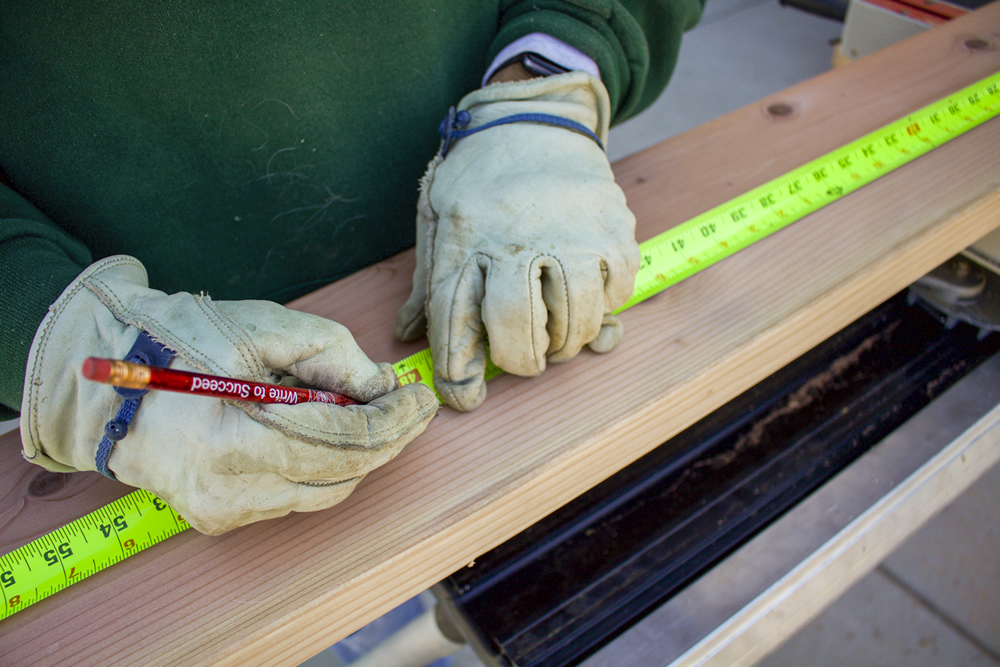
Step 1: Use a Miter Saw to cut 2 of the 8ft, 2×10, boards in half so that you have 4 4ft boards. Then use the Miter Saw to cut the post int 4 2ft pieces.
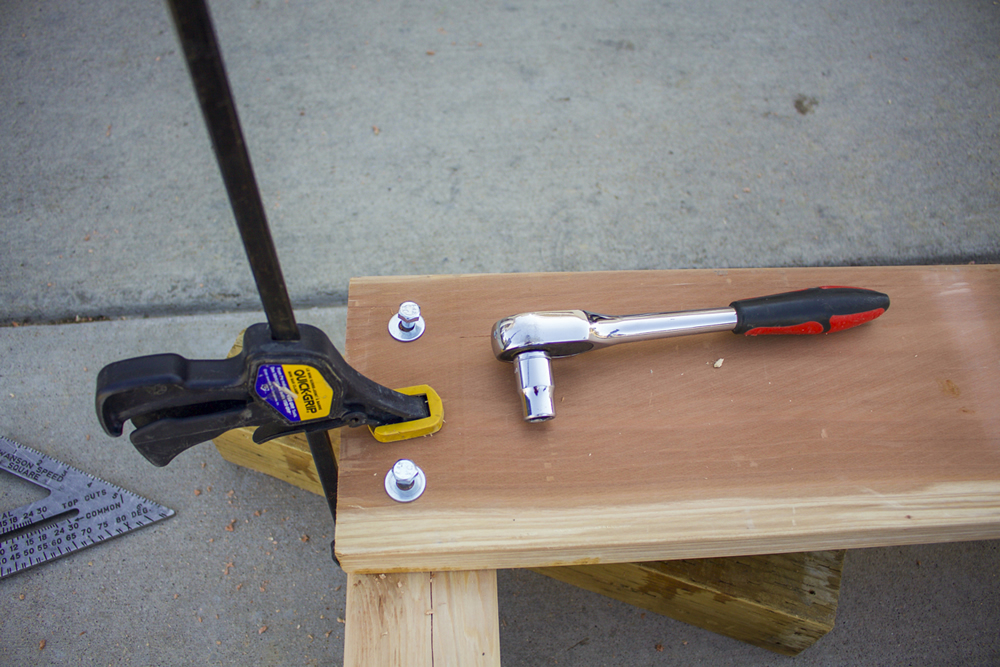
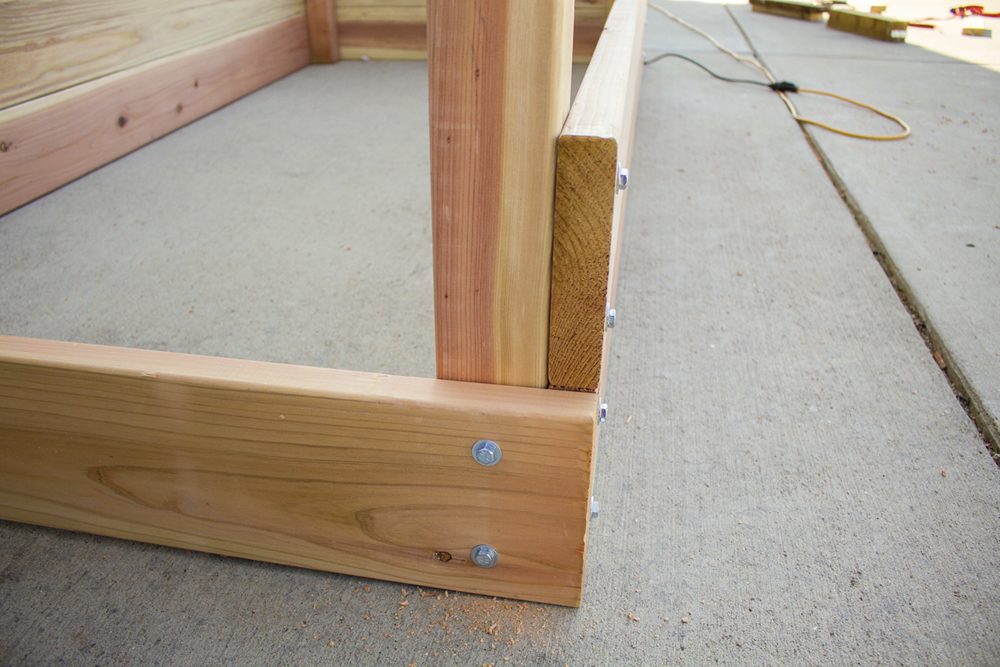
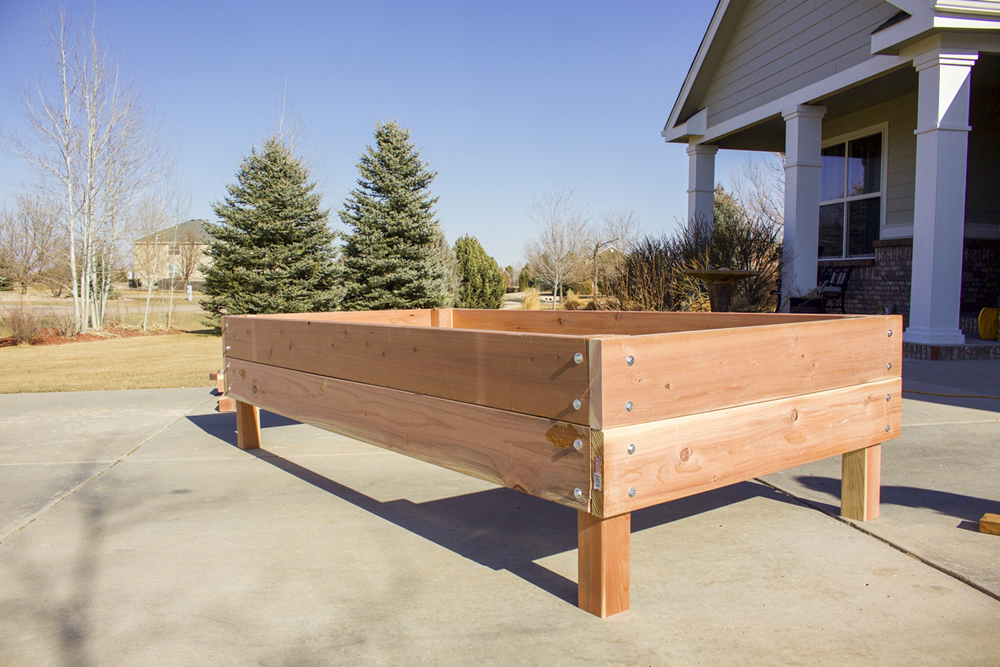
Step 2: Tightly clamp one end of the 2×10 board to one of the short 2ft 4×4 posts so that the top of the post is flush with the side of the board and the end of the board is flush with the side of the 4×4. Pre-drill two holes, preferably ¼ in bit, about one inch from the sides and ends of the 2×10. Basically, make sure they are evenly spaced and look nice. Use a socket wrench and the lag screws to secure the board to the post. Repeat the procedure on the other end of the board.
Step 3: Take another 2×10, place it parallel to the first with the ends flush to the same posts and secure it in the same way. You should end up with one side of the bed that is
8ft long and two boards wide. Repeat step two and make the other side.
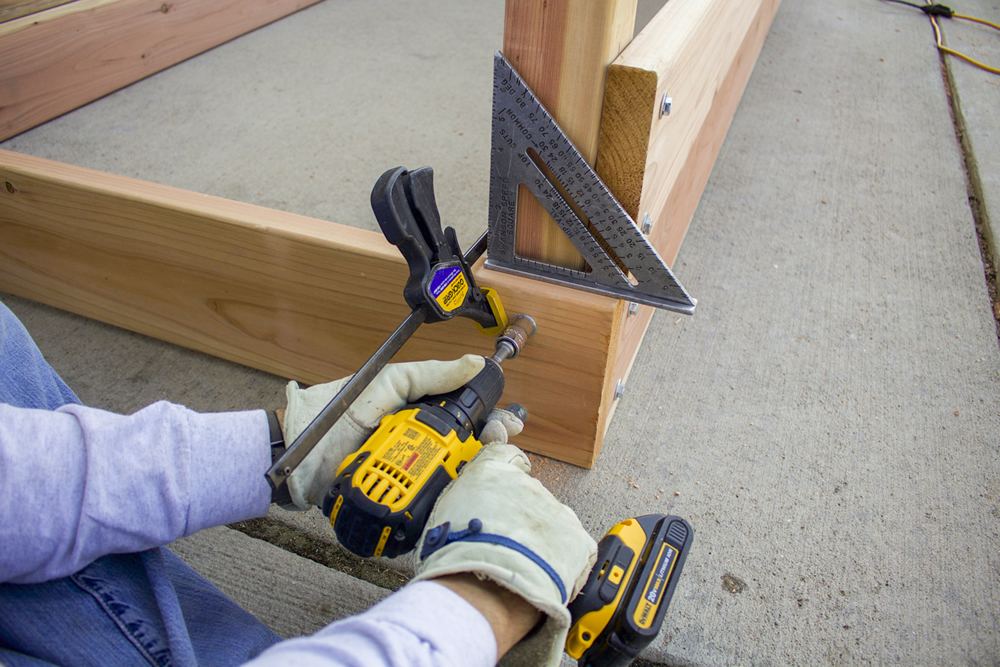
Step 4: Place the two walls upside down on a flat surface so that they are parallel to each other and about 4feet apart. Place a 4ft 2×10 upright with each end against a post form opposite walls. Make sure the ends of the posts are flush with the exterior sides of both walls. Clamp, pre-drill, and secure the 4ft 2×10 to both sides. Repeat the procedure on the other side making sure to keep the bed as square. Iʼve noticed that the beds never stay square once theyʼve been put into the ground but, itʼs good to start out as square as possible.
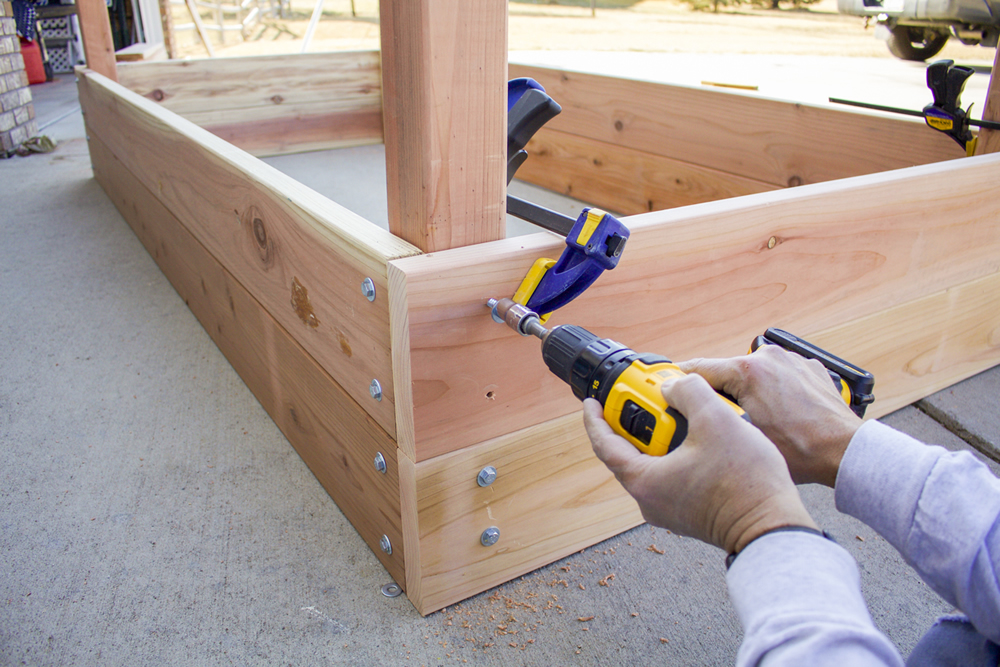
Step 5: Clamp, pre-drill, and secure the second two 4ft pieces on each side stacking them to create the final two sides and complete the bed.
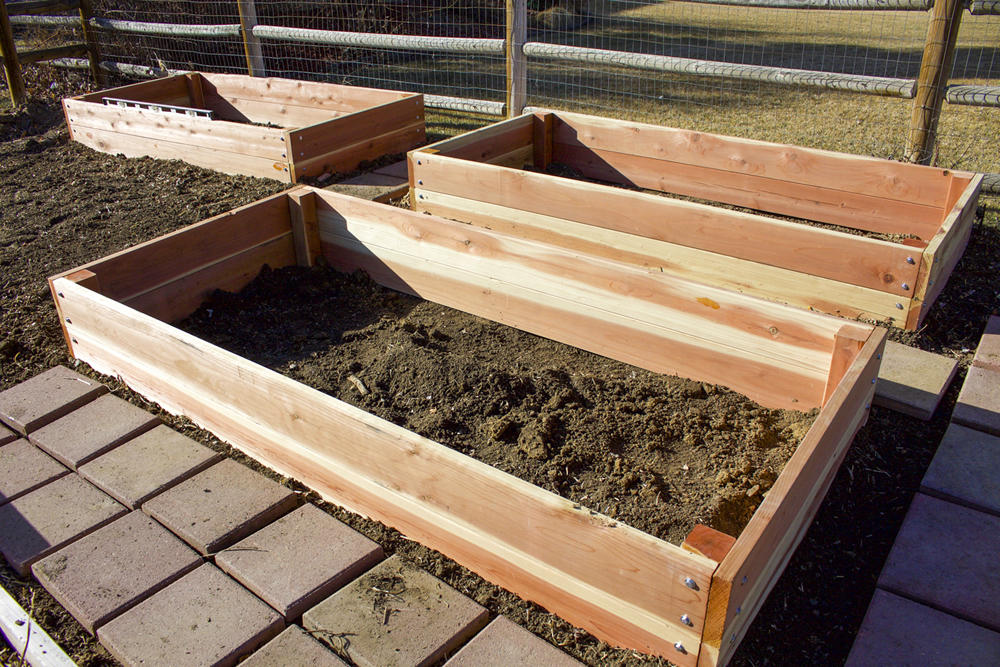
Step 6: Dig holes in your garden deep enough so that the sides of the beds are flush with the ground. If you are going to run water lines the easiest way is run them up through the post holes before you fill them in. I like to clamp my water lines to the sides of the beds so I know where they are for future soil prep. Fill with soil and your bed is complete.


Thank you for reading my Northern Colorado Lifestyle Blog!
by Tamara Suppes, Northern Colorado Real Estate Agent
Northern Colorado Homes for Sale | Fort Collins Realtor with The Group Inc


